Adding Tiles to the Dashboard
-
On the Therefore™ Web Client UI, click the Dashboard button on the left-hand side ribbon menu:

-
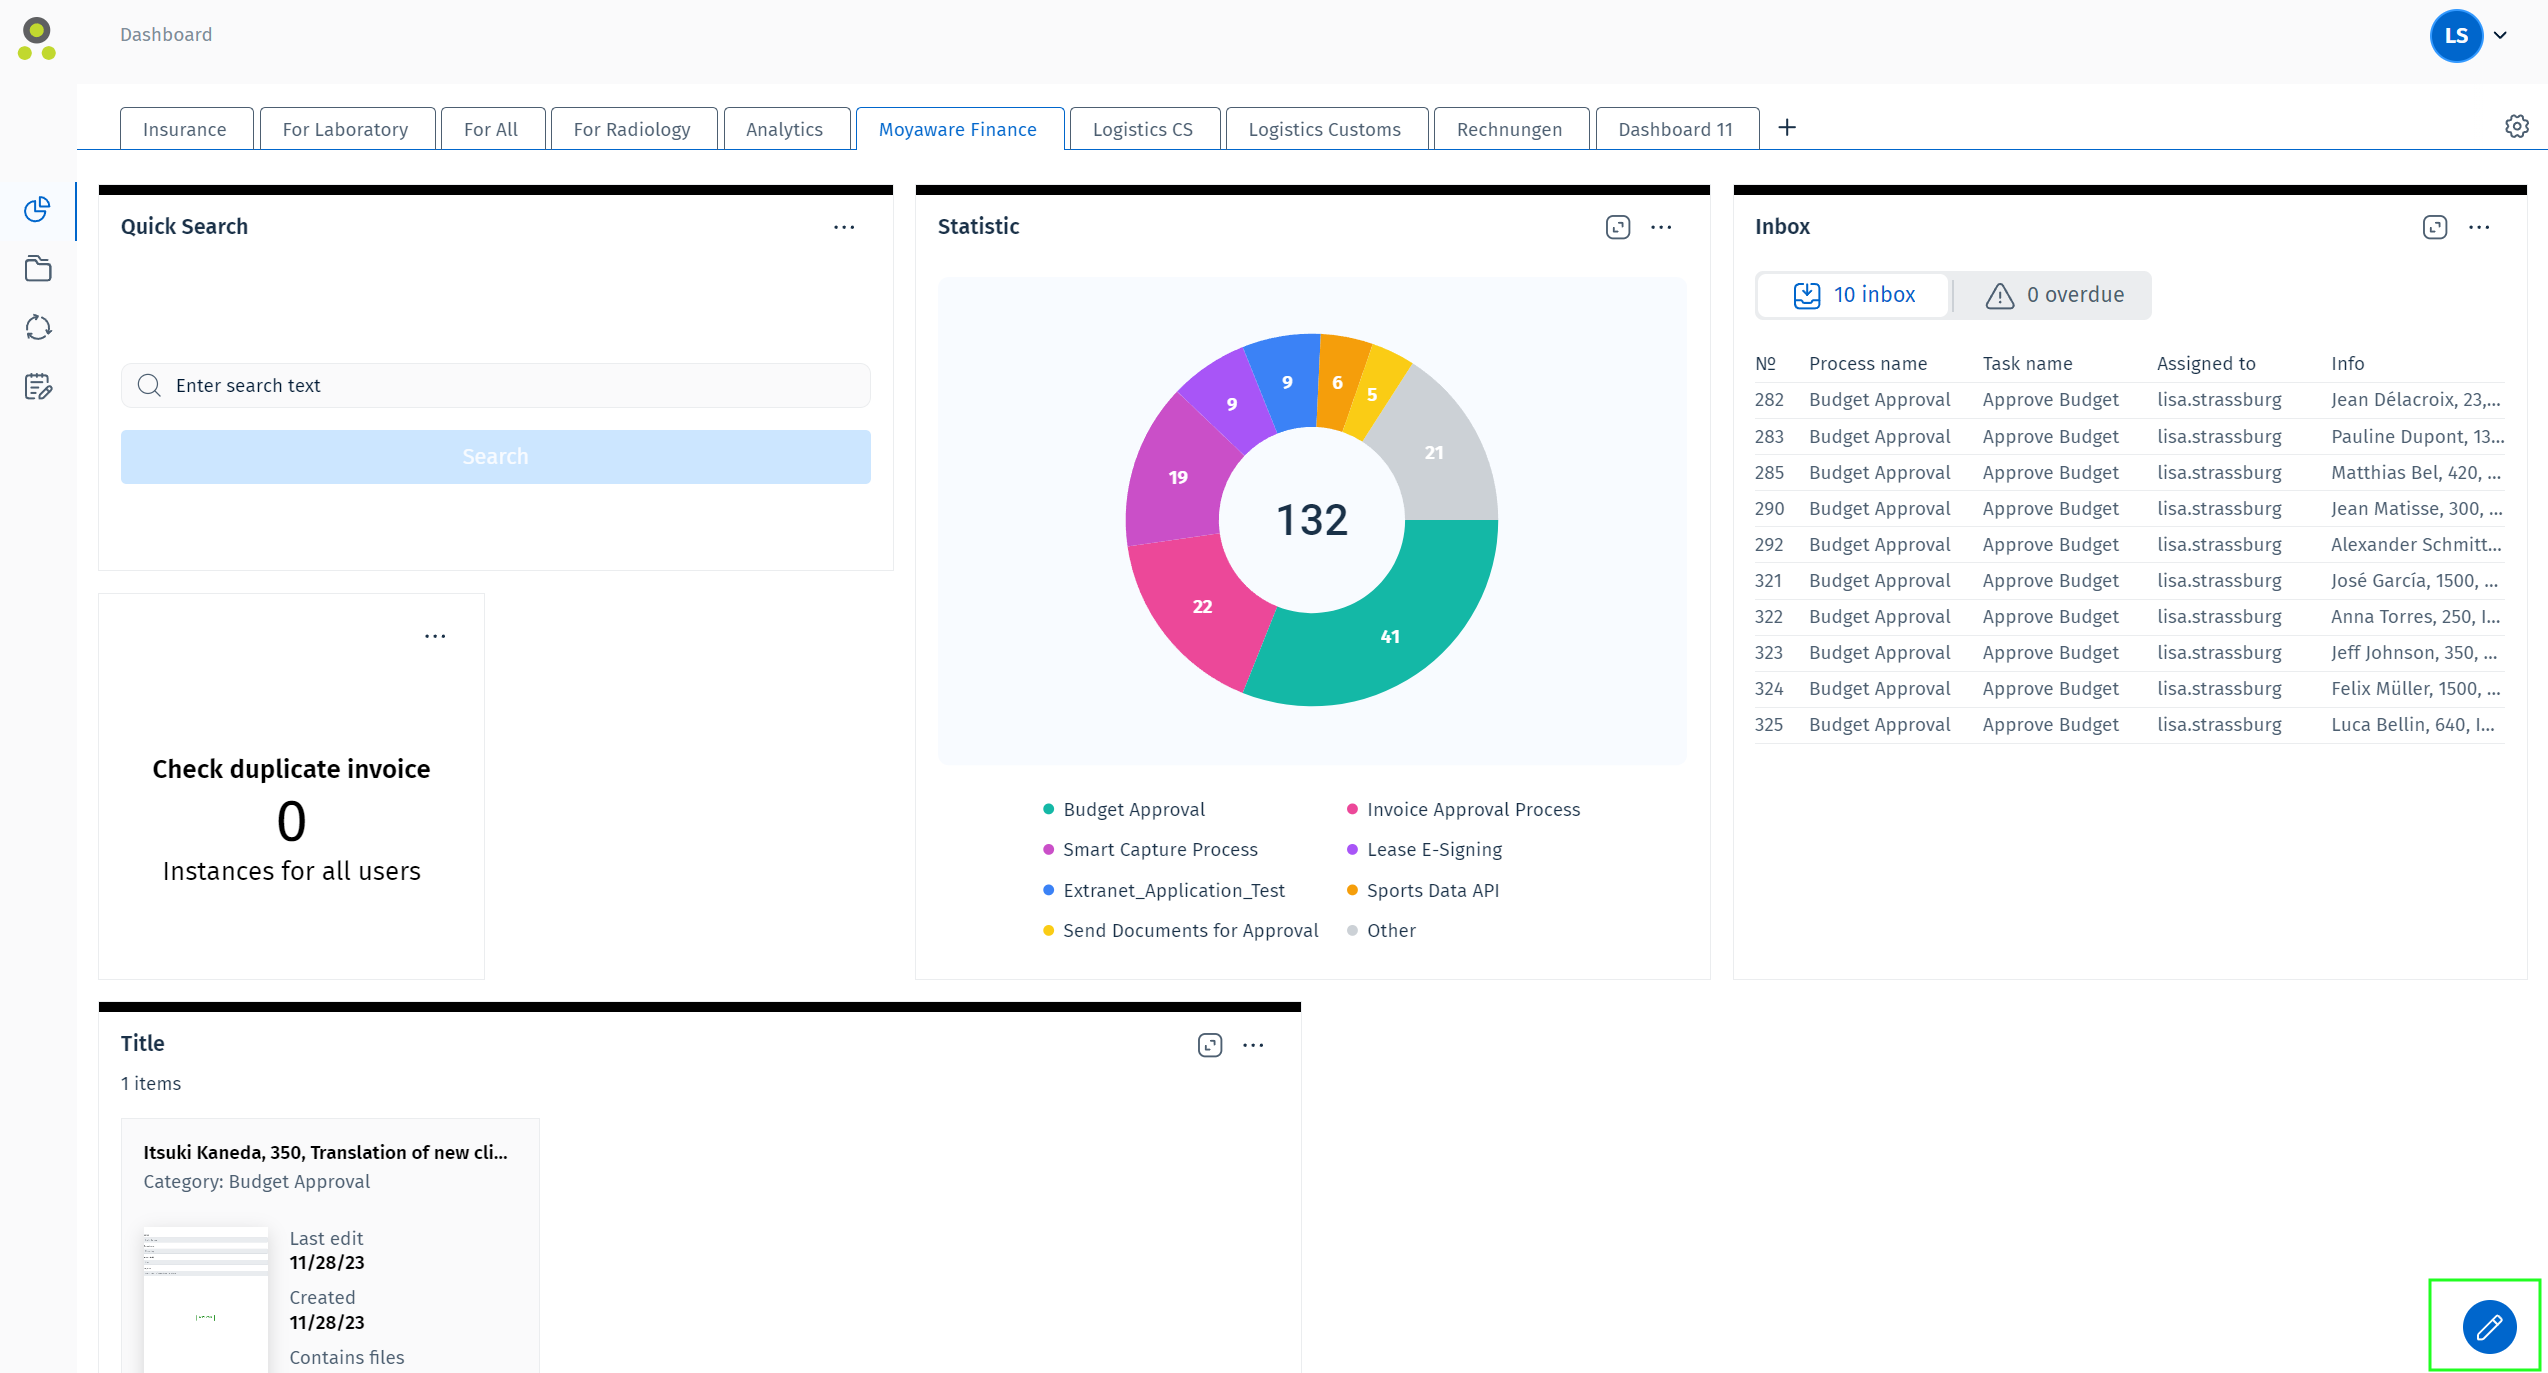
On the Dashboard screen, click the editing button on the bottom-right of the screen.

-
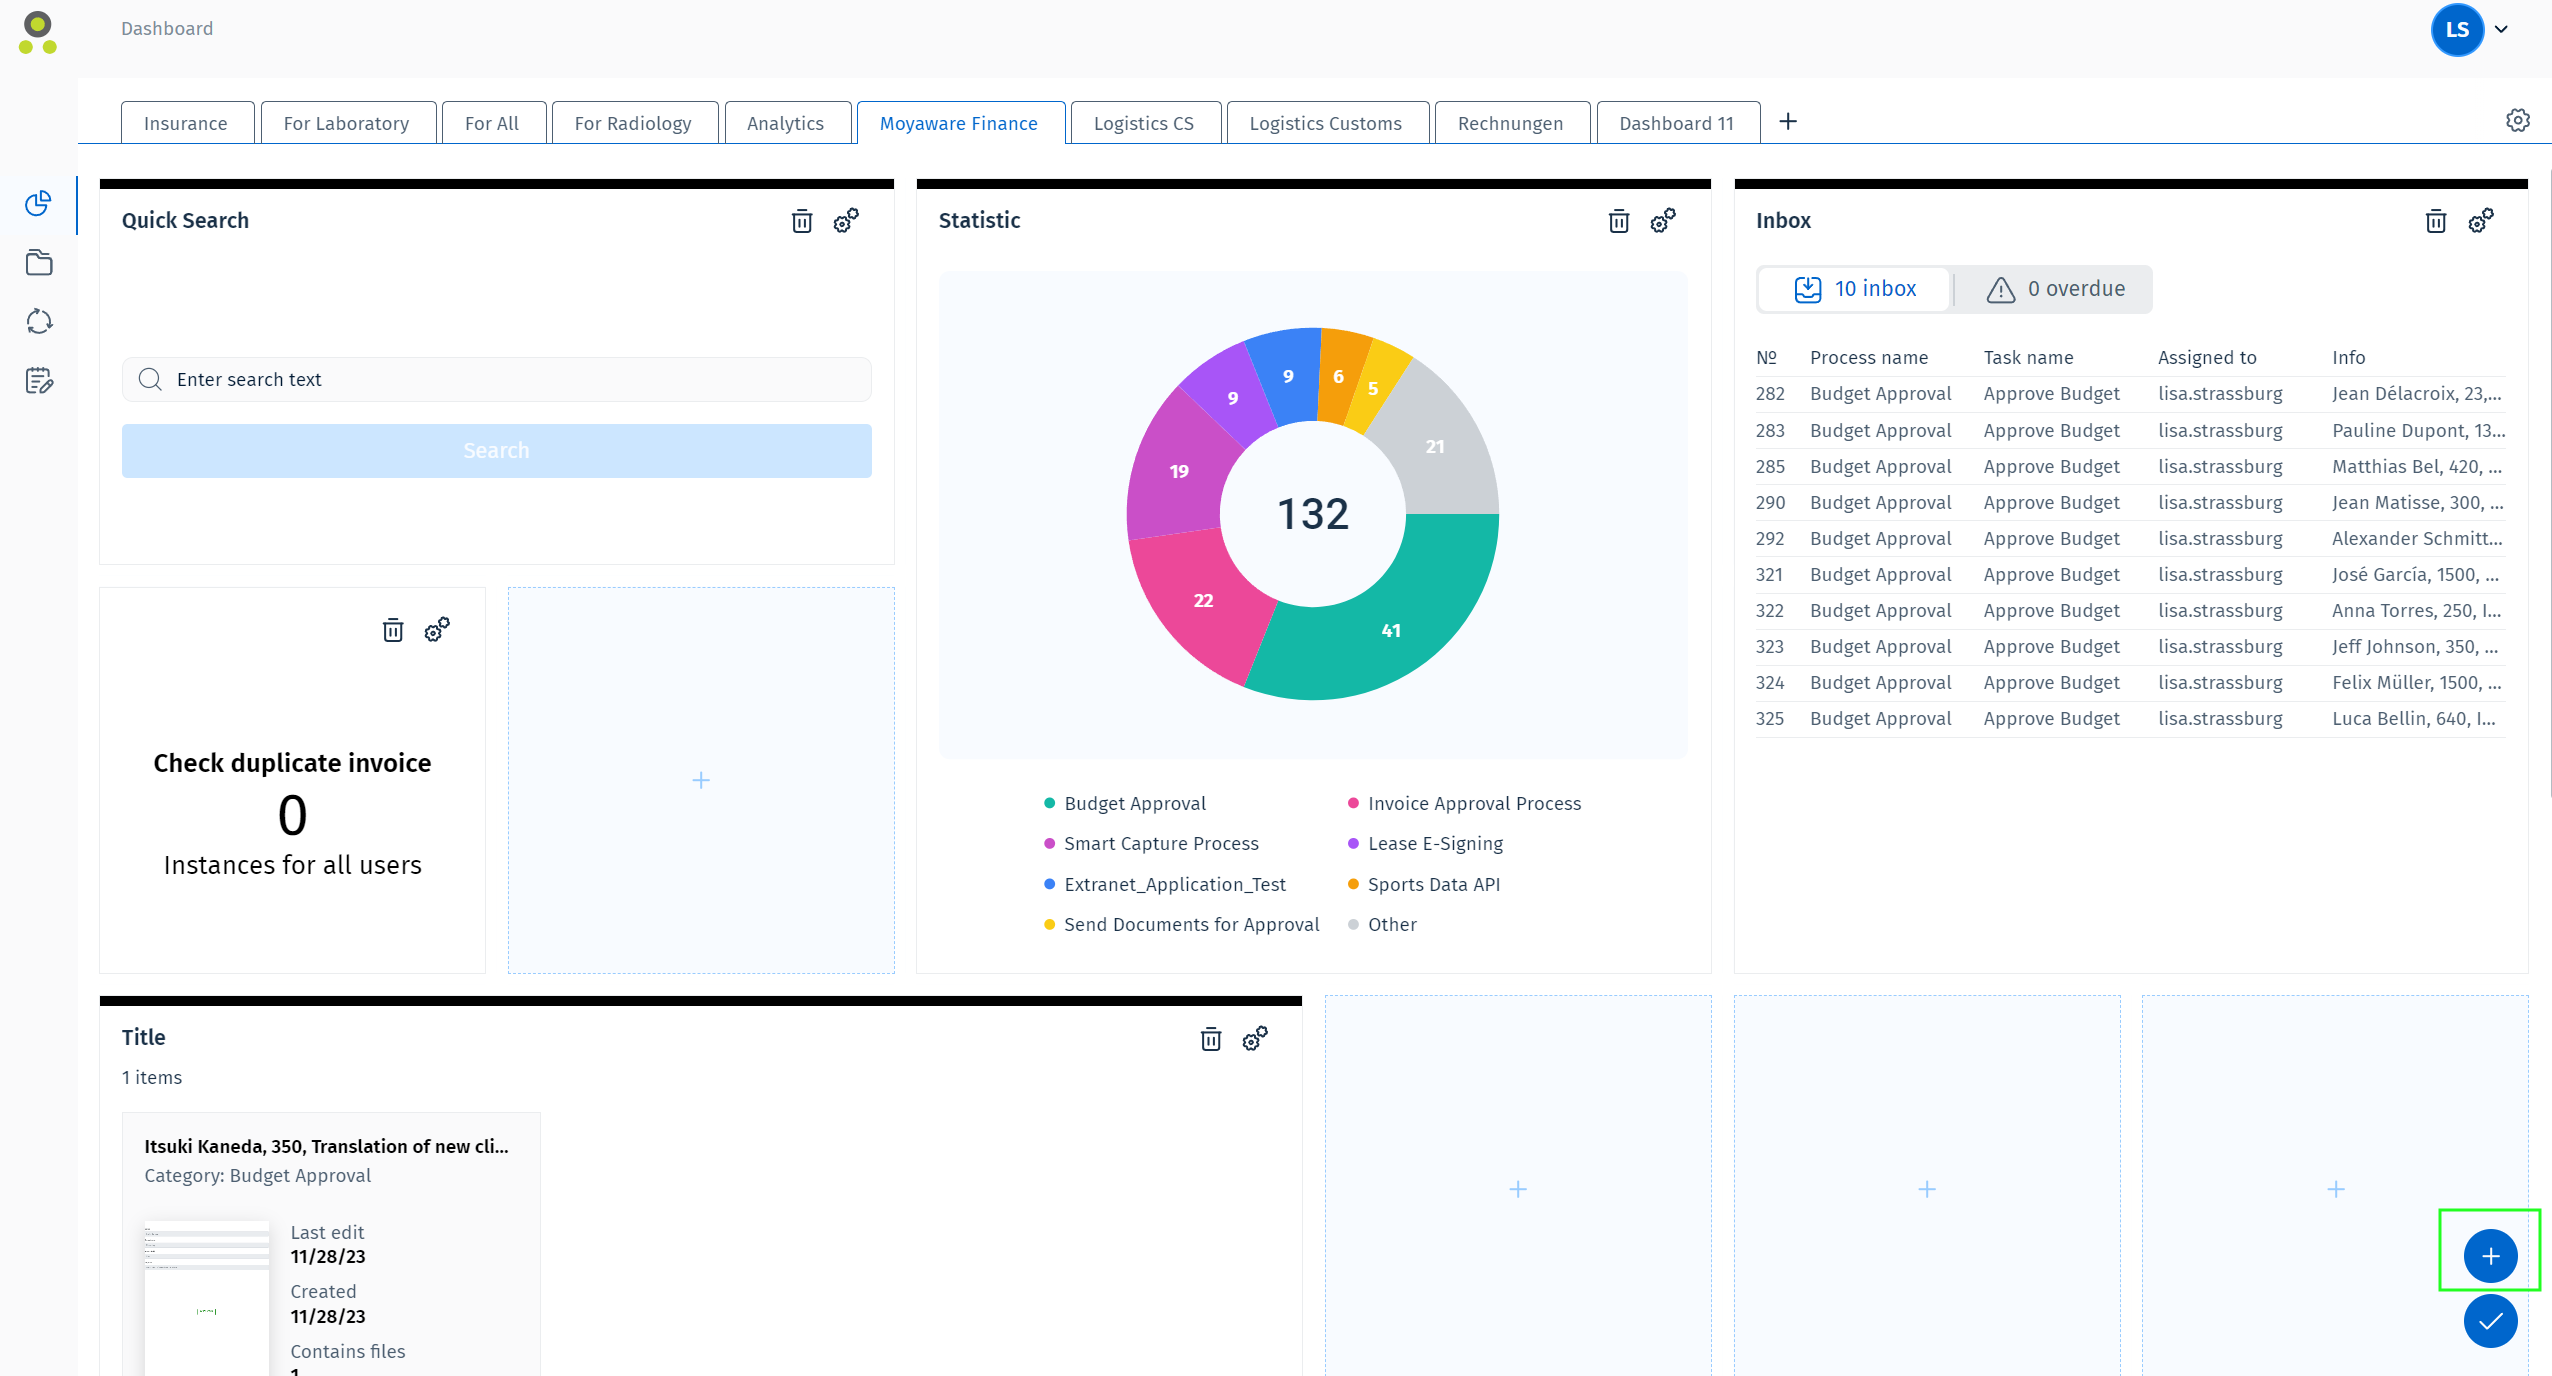
Then click on the Add Tile button to prompt the "Add New Tile to Dashboard" dialog window. You may also press any of the empty tiles with a plus (+) sign on them.

-
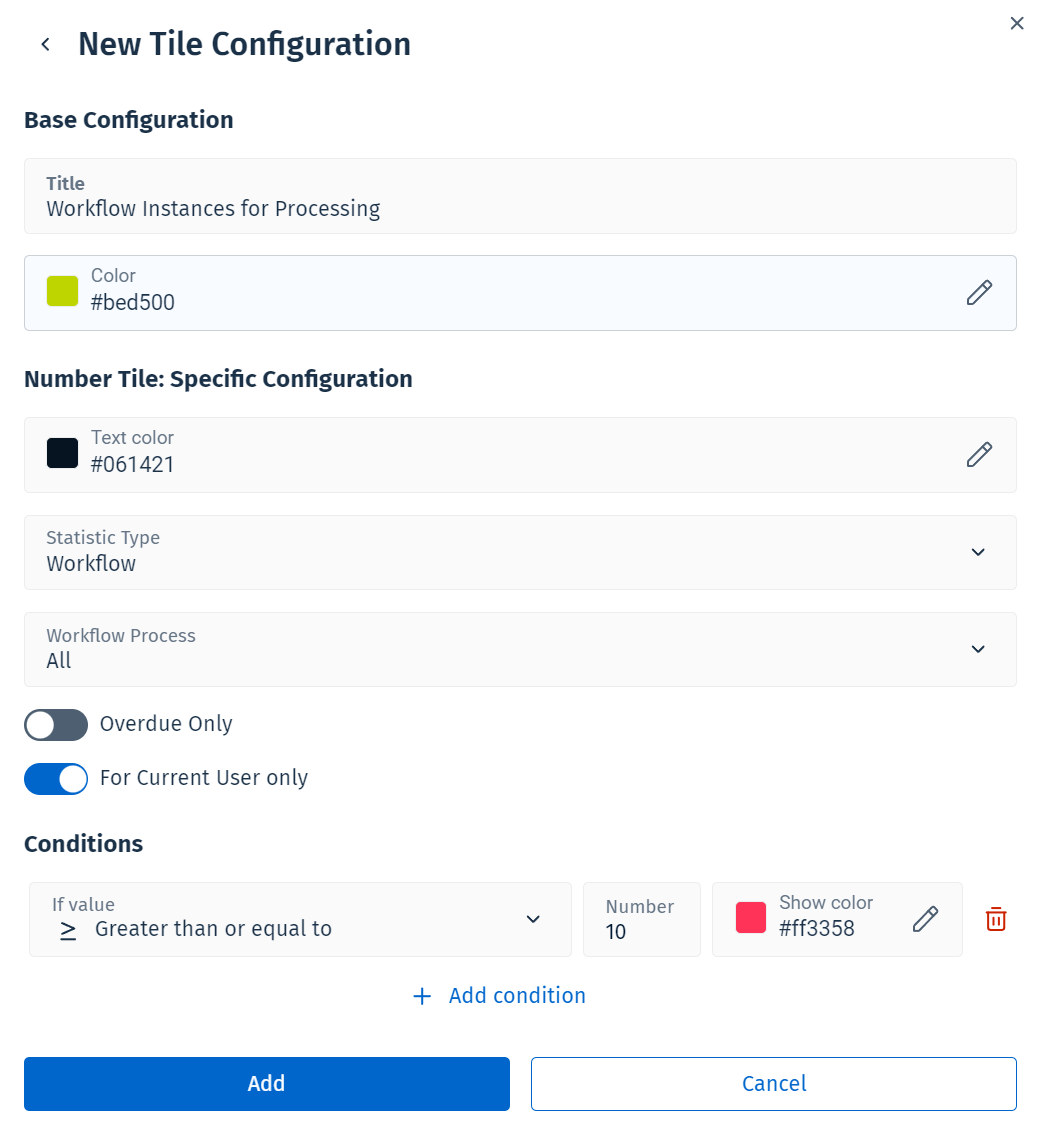
On the "Add New Tile to Dashboard" window, selected the desired tile type. Doing so will open the 'New Tile Configuration' dialog. You will be prompted to add some basic configuration details, some of these will differ based on the type of tile selected.

-
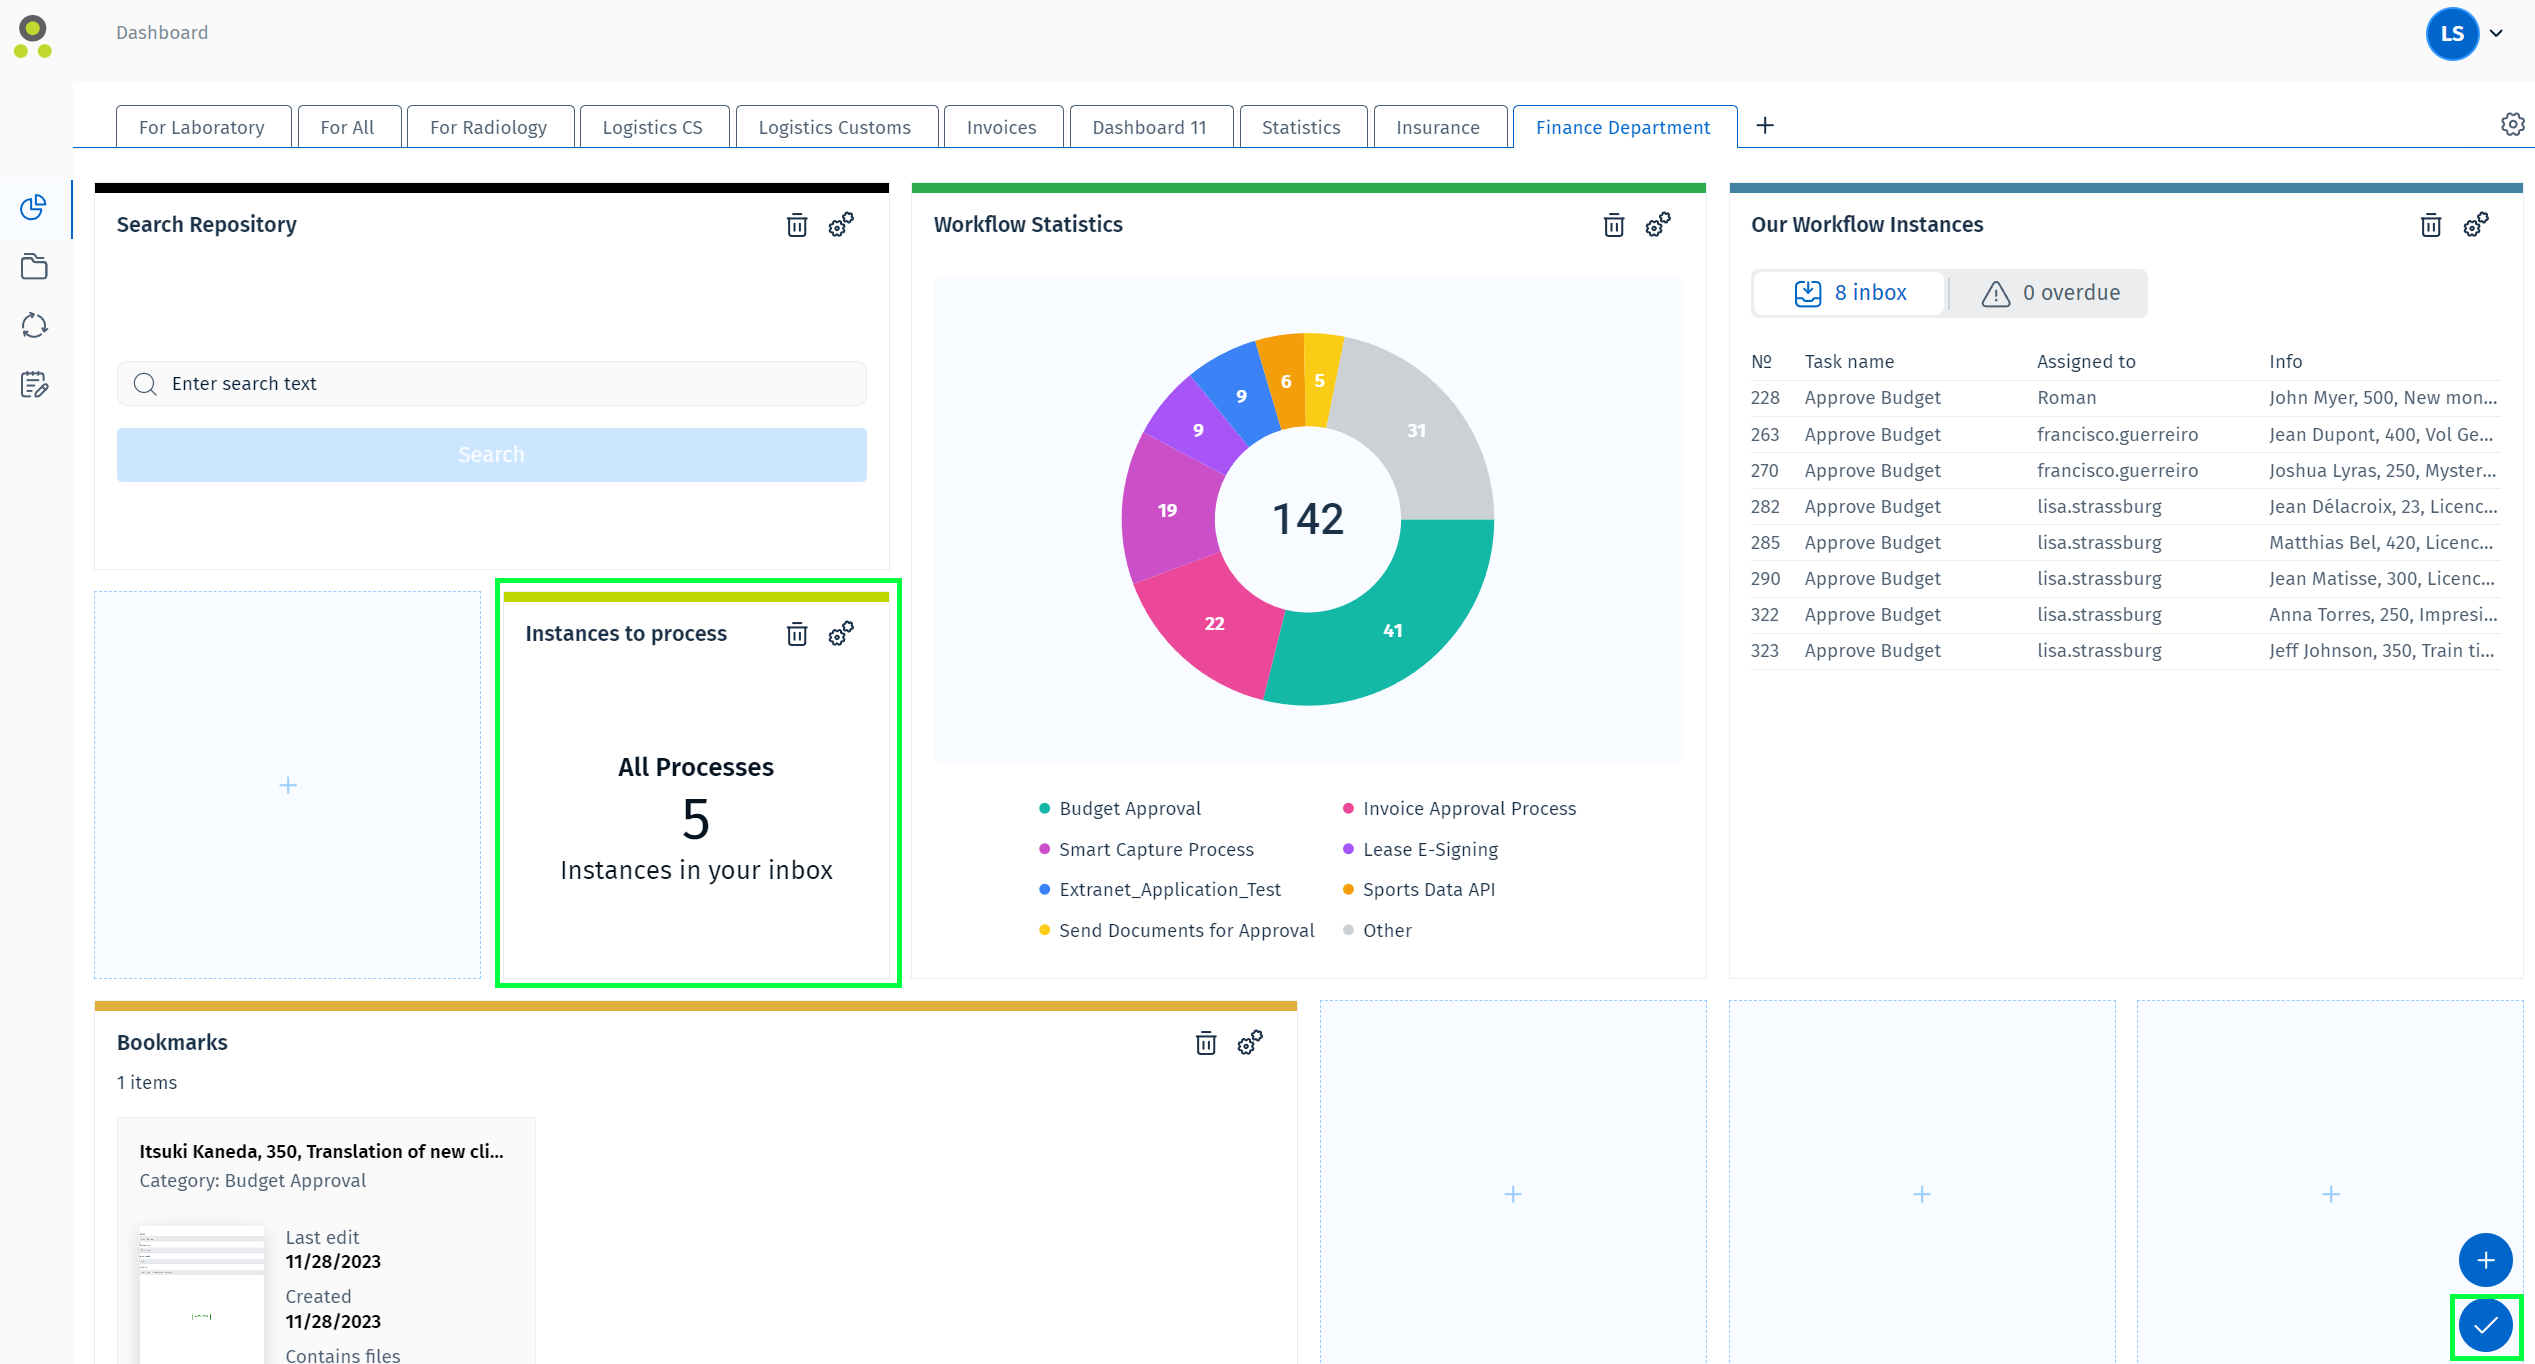
The tile will now appear on the Dashboard. Press the "Exit edit mode" button to finish adding tiles.

Notes:
To configure a tile, on the tile, click the "Configure tile" button:
This will prompt a new dialog window where you can change the configuration of the tile.
Different dashboards can also be created in different tabs by clicking 'Add Dashboard' in the Manage Dashboards dialog. This dialog can be opened by using the 'Manage Dashboards' button in the UI:

For more information on the variety of the different types of tiles that can be included on the dashboard, refer to the dashboards section of the References:

