Creating a New Category
This tutorial goes over the process of creating a category and customizing its design.
Creating a New Category
-
Begin by right-clicking the Repository object and selecting 'New Category'. Alternatively, right-click the folder under which you wish to create the category.
-
A new blank category is displayed. Right-click on the blank window to display a context menu with different index field types. The option 'Snap to grid' may be selected to display a grid on the category dialog which allows for index fields to be positioned more accurately.
-
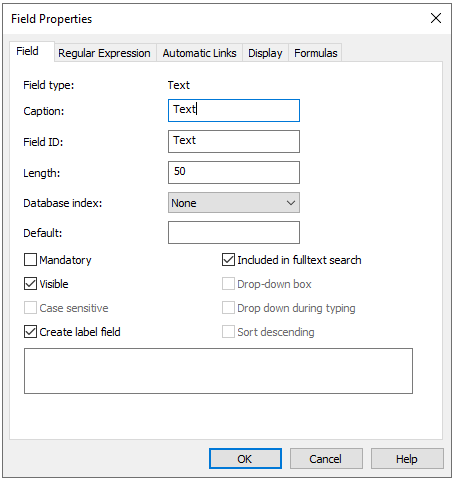
Select an index field type. This will open the 'Field Properties' dialog. Name the field and configure its properties as preferred. For more information on each of the properties, see the reference page:
Field Properties
-
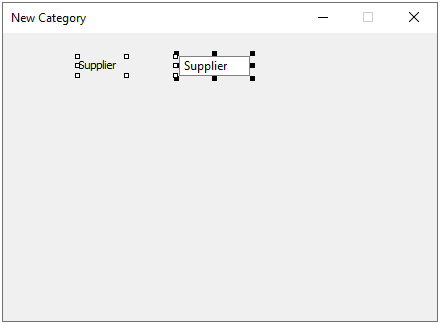
Once configured, press the OK button. This closes the dialog and shows the category window, now with the newly added index field. The index field and its label can now be selected with a click and dragged to different positions, as well as re-sized by clicking the squares around their edges.

-
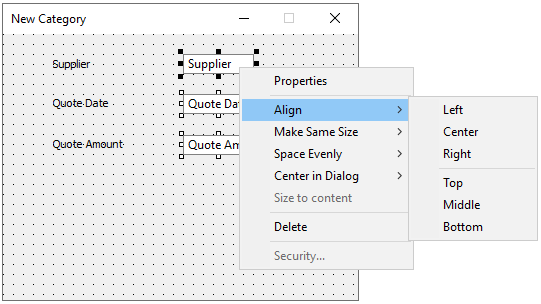
Repeating the steps above, more fields can be added. These can then be aligned by selecting the respective fields or labels, right-clicking one of them and selecting 'Align' from the context menu. When aligning fields this way, the anchor field is identified by being the one highlighted with black squares around. To change this, hold the CTRL key and select a different field.

-
Once the necessary fields have been added and configured, close the category window to be prompted with a dialog asking to save the category. Alternatively, select 'Save Category' from the context menu of the category window.
See also:
Display
Category Context Menu