Importing Language Files

|
Note: This section, "Importing Language Files", applies only to NAV 2015 and newer. |
Language files can be imported as such:
-
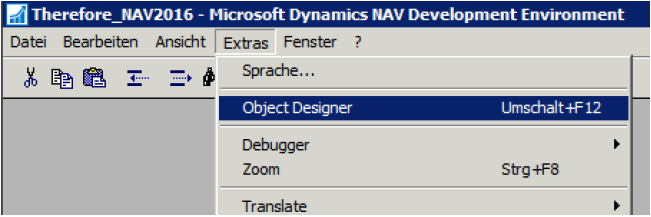
Go to Extras and open the Object Designer.
-
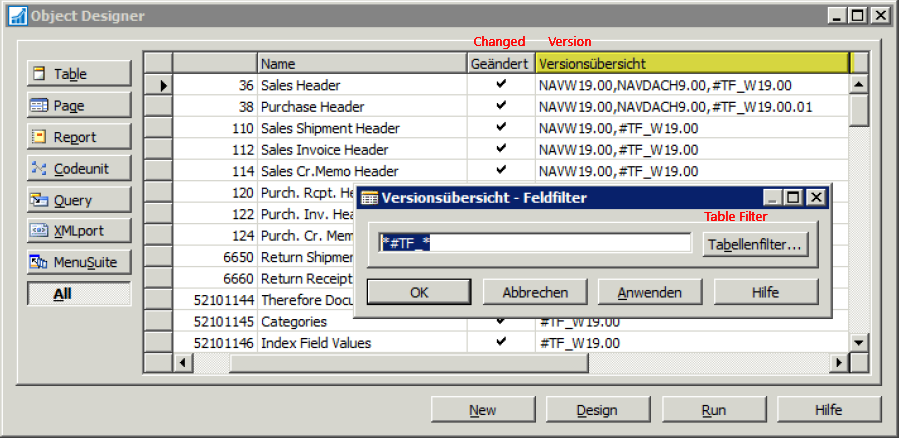
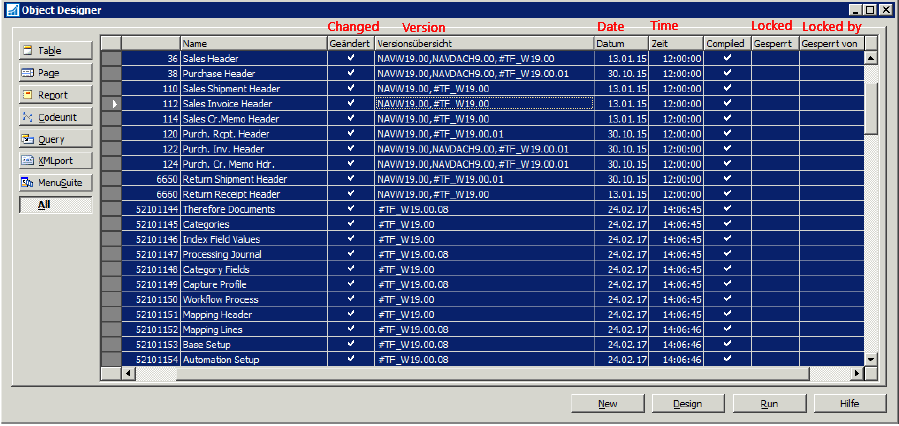
Filter all Therefore™ objects and mark them.
-
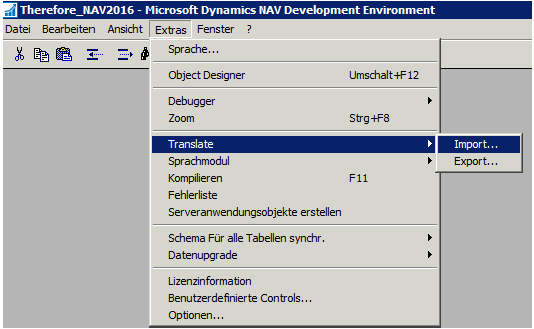
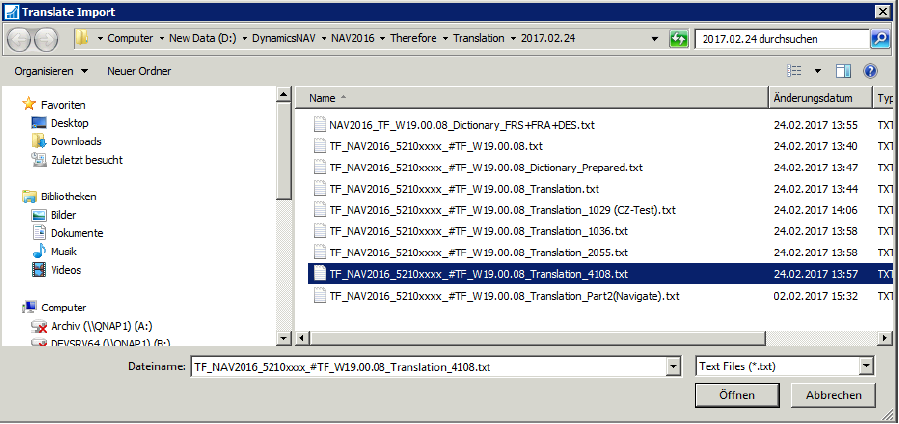
Go to Extras -> Translate -> Import and choose the language file.
-
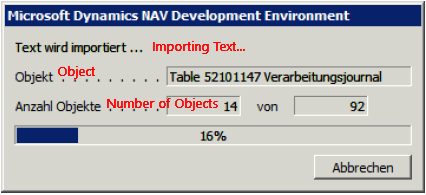
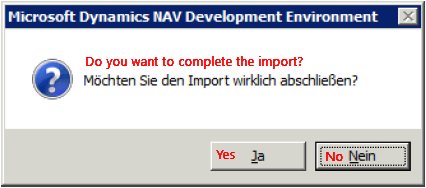
The language will be imported. Confirm when finished. Note: Keep the objects marked for the next step.
-
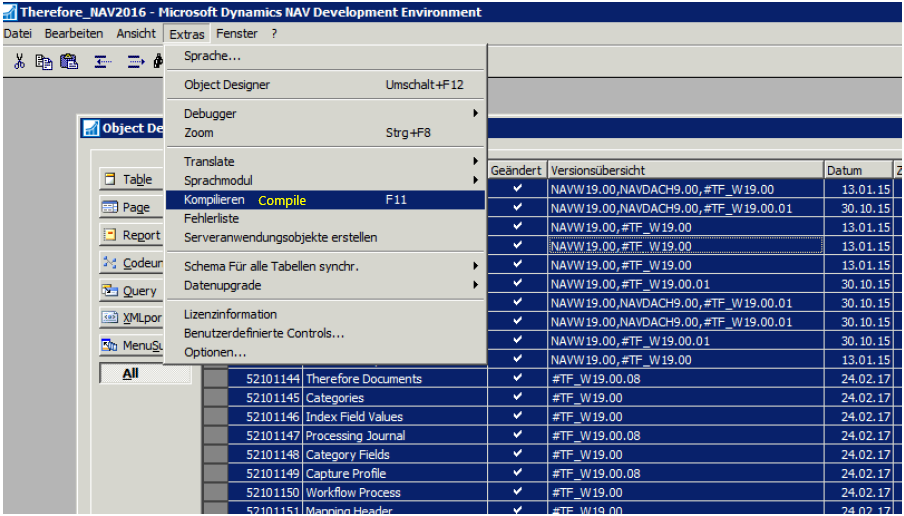
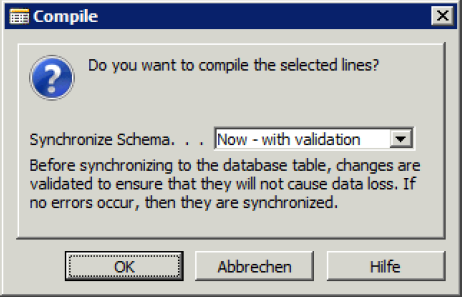
Compile all marked objects.
-
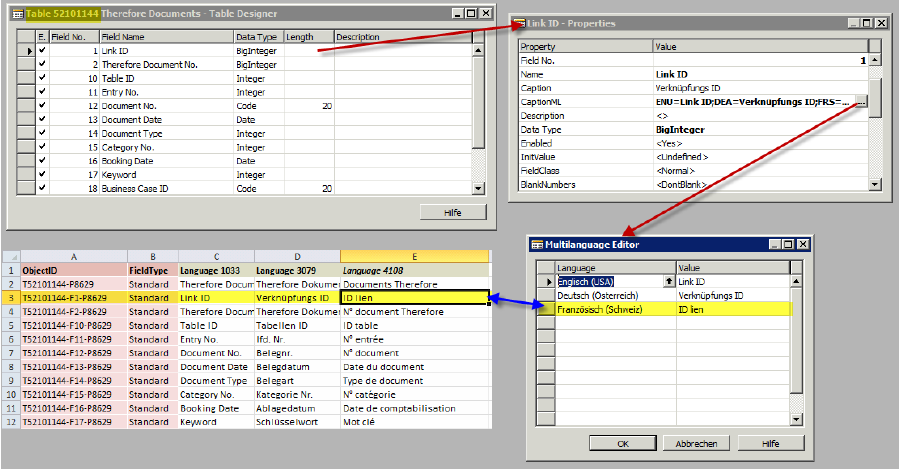
Check the translation. The example below compares a field name with its translation from the Excel dictionary table.
-
The translated terms from the language file will be added to the marked objects as long as the relevant field IDs in the language file were found.
Existing Installations
When upgrading from a version before #TF_W19.00.07, these additional steps are required to enable translations. This is because the Therefore™ Menu Items have been moved from Menu Suite 1080 to new Menu Suite 1051 Dept - Add-on 1 to better follow best practices for custom menu suites of add-ons.
-
Export MenuSuite 1080 as a txt file (using the NAV Designer Client).
-
Open the txt file with a text editor.
-
Delete the MENUNODES in the txt file which are saved as one block, most likely at the end of the txt file:
-
First Node to be deleted: {9DC48740-37AC-4E23-968F-9B865AF7FFAB}
-
Last Node to be deleted: {990832B1-1C46-43FD-AC18-B2B19EF4C953}
-
-
Reimport the changed menu suite to NAV.