Adding and Moving Documents
Adding Documents to a Category
-
On the Repository page, navigate to a category you wish to add a document to, and click on it.
-
On the Search screen, click on the "New" button on the top side of the screen.
-
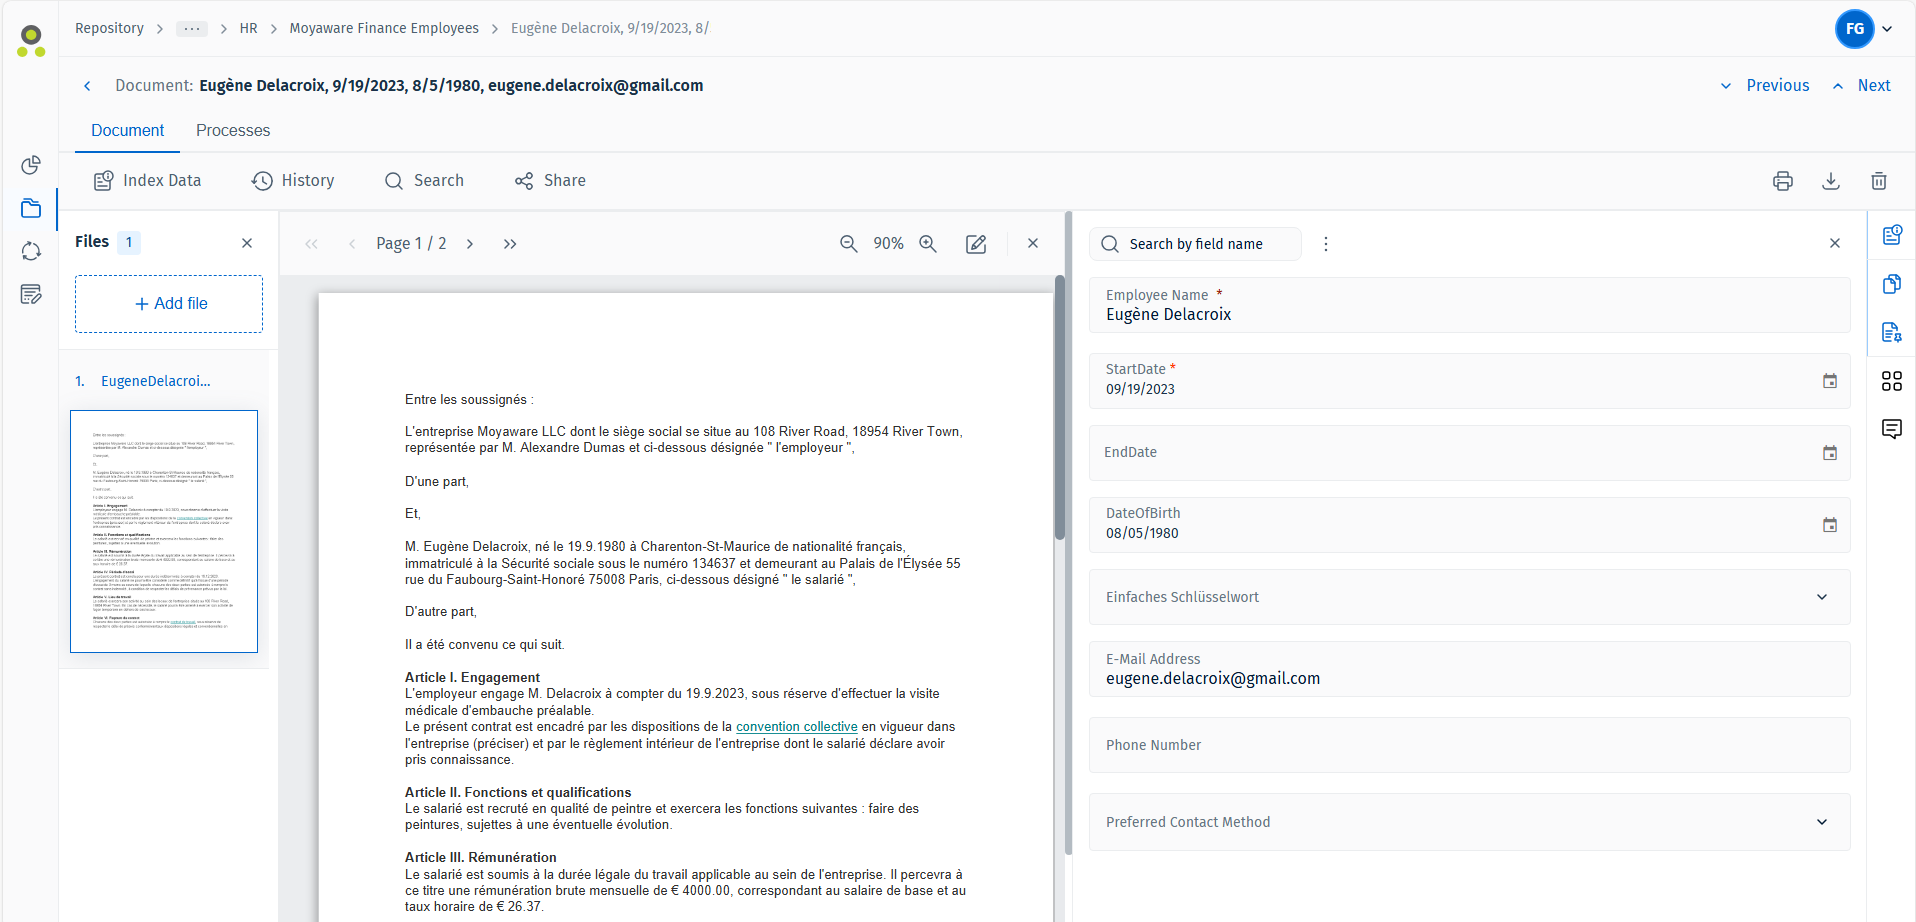
On the "Add new document" screen, you will be able to attach files and fill out the relevant index data for this document. The mandatory index data will be marked by a red asterisk.

Note: Field configuration
Your administrator can customize field behavior to help you save time while filling in index data. Options include making fields mandatory based on a condition, automatically filling in index data fields with macros, and allowing you to add keywords on the fly. For more information please check the following reference page:
- You may drag and drop the files you wish to attach to the "Add file" button on the left, or click it to browse your drive for files.
- Once the file has been uploaded, a preview of this file will be available.

- Once you have filled out the necessary index data and finished adding all the relevant files, you can press the "Save" button on the left-hand side of the screen to finish adding the document.
Moving Documents to another Category
Documents can be moved to another category either via a workflow, or manually in the Web Client:
-
While viewing a document hitlist, click the three dots on the left side of listed items to open a context menu. Select 'Move document'.
-
A new dialog will open prompting the user to specify which category the document should be moved to. This category can be searched for or found by browsing the Repository tree below.
-
Selecting a category will proceed the user into a dialog with the index fields of the new category. Once those have been filled out, press 'Move' to proceed.
-
The user will finally be prompted with a check-in comment. Saving the comment will complete the process.
