Creating a New Tenant
-
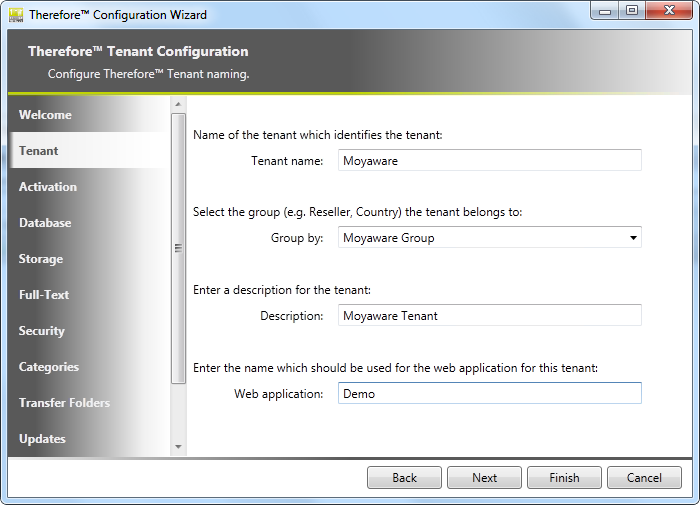
Open the Tenants Manager and click File on the menu. Then select Add Tenantto open the Therefore™ Configuration Wizard. Enter the Tenant name and if needed you can assign it to an existing group, or enter a name to create a new group. You can then enter a Description for this tenant. If Therefore™ Web Access is required, then a Web application name must be specified and configured on the Microsoft IIS server.
-
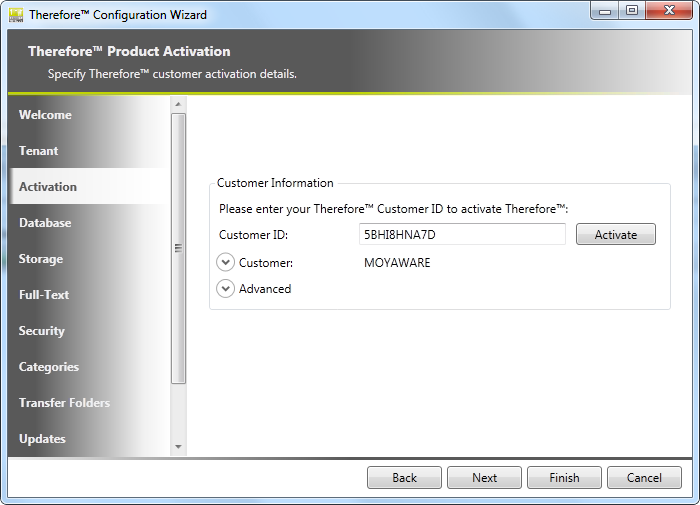
Next the tenant must be activated by entering the Customer ID and then clicking Activate (this requires an internet connection). If an activation file is available, this can be specified.
-
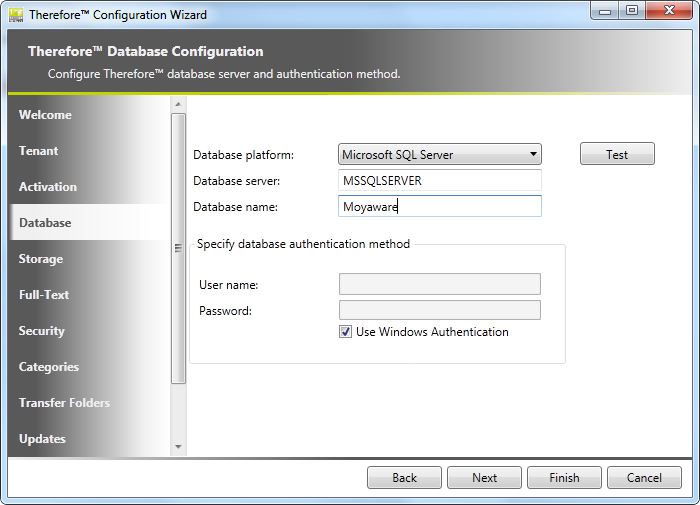
The next step is to specify the database server (name or IP) and a name for the tenant database. The Therefore™ Server can use Windows Authentication to access the database (recommended). Alternatively a user name and password can be specified.

Recommended:
For a database name choose the tenant's name.
-
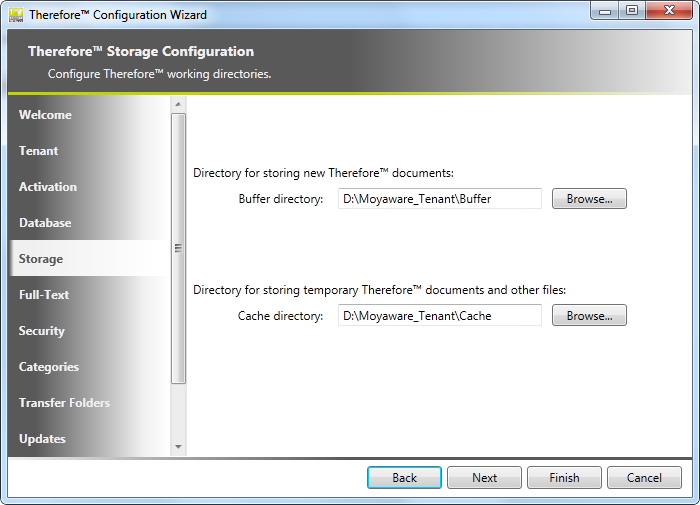
Next, Buffer and Cache directories need to be specified for the tenant.
-
If full-text searching is required, then a catalog language must be chosen and a catalog directory must be specified.

-
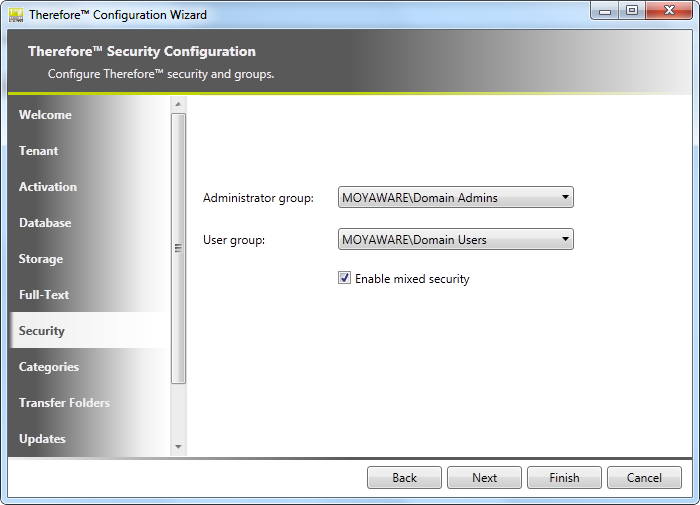
Next, an administrator and user group need to be specified. The Enable mixed security check box will allow Therefore™ internal users to connect to the tenant.
-
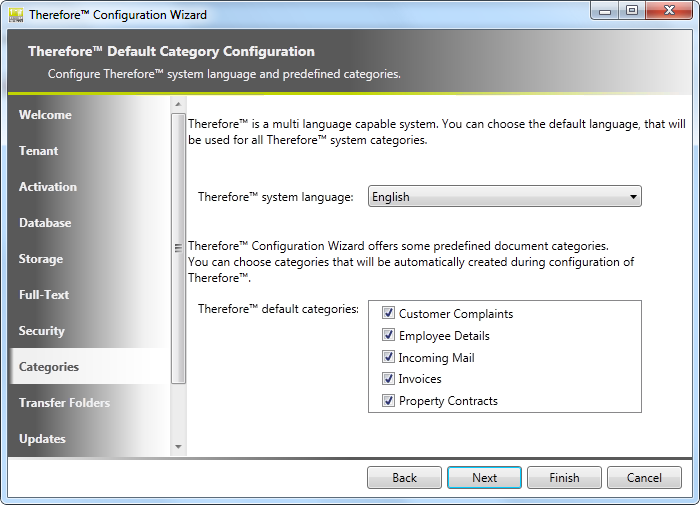
Next the default server language needs to be selected. The default language can be changed later on the tenant in the Therefore™ Solution Designer Advanced server settings -> General -> Server Language. By default some predefined Therefore™ categories are automatically created. Deselect categories that should not be created.
-
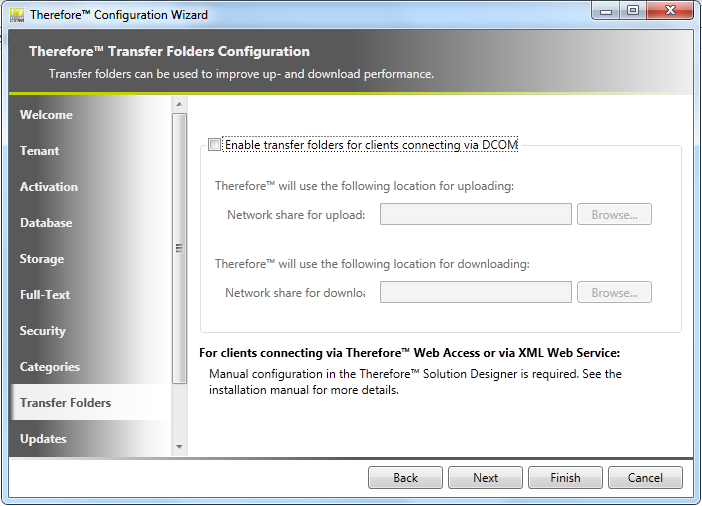
Optionally, the UNC paths for the transfer folders can be defined for better upload and download performance when connecting via DCOM. Please refer to the Installation Guide for a tutorial on configuring transfer folders.
Note:
-
Transfer folders can also be configured for connecting via XML Web Service and Therefore™ Web Access.
-
To use an XML Transfer Folder in a multi-tenant environment, some settings in the XML Web Service configuration file need to be changed.
-
-
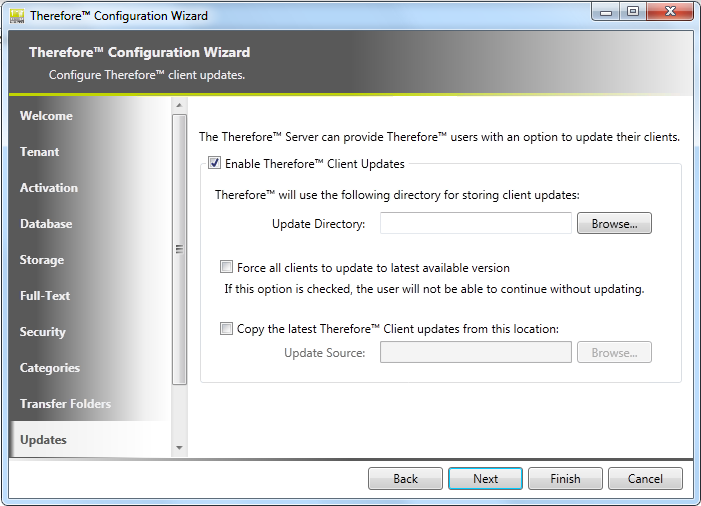
Optionally, some settings for client updates can be configured. For a full description of these options and configuration instructions, please refer to the Upgrade Guide.
-
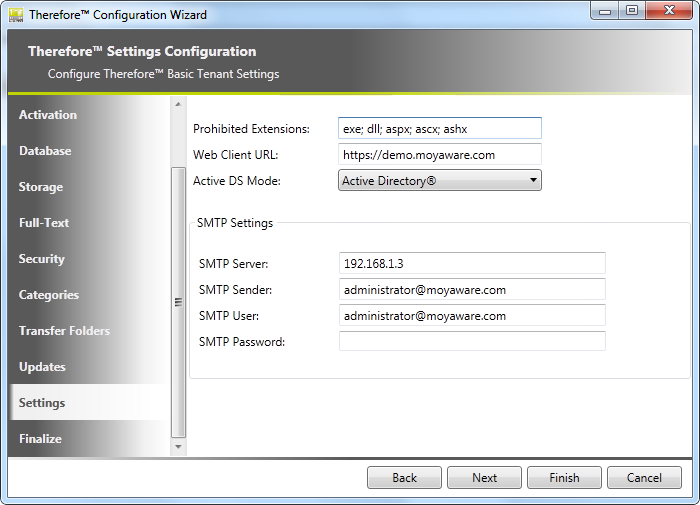
Next there are a number of settings that can be configured. Click Finish to create the tenant.
Note:
If a Profile is defined all defined fields are filled in automatically.
-
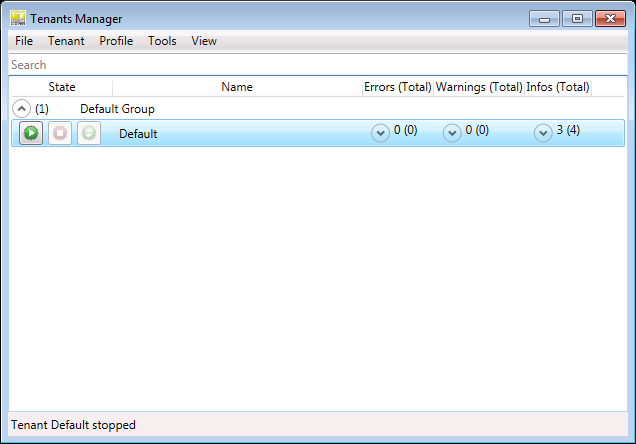
The final step before the tenant can be used is to start the newly created tenant. Click on the start button to start the tenant.